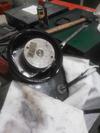
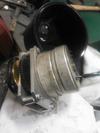
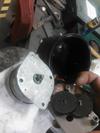
Disassembling a different style (Merlin 8571) Aquabot motor
by Joshua Arritt
(Lansing, MI)
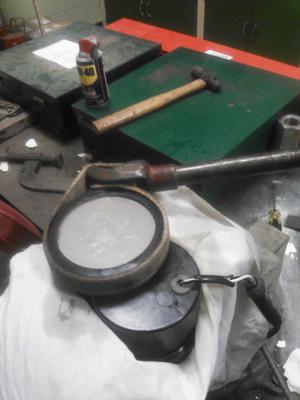
Use strap wrench to take off cover
So I had already used the instructions here to disassemble and repair the motor in my Aquabot classic. However I found that I needed to take apart and repair a different motor, in particular part #8571 from an Aquabot Marlin. This motor is used in quite a few other Aquabot models as well. There are 2 covers and in my case I had a problem in the gearbox, so I took off the cover that gained me access to the motor. If you had a circuit board issue you might want to take off the other cover.
Note: make sure you have a good power supply before you assume a motor problem. I have tested 3 separate power supplies (3 wire style) and across the outer 2 terminals they all made about 36 volt AC. With those same 2 terminals you can connect a motor directly to the power supply to test the motor. (Ignore the center terminal). Of course that is all at your own risk, I am not a professional, but it worked for me.
Tools needed: Bench vise, strap wrench (or possibly adjustable oil filter wrench), 15/16" wrench or socket, philips screwdriver.
I have several other pictures which would better explain the process if anyone wants them.
Firstly, remove the 3 pieces of foam from exterior of motor.
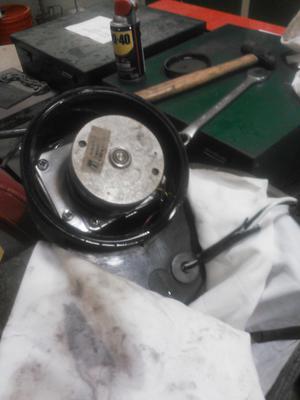
Now with the motor in a good vise (use a towel between motor and grips to mitigate damage), use a strap wrench to remove cover (it takes a good amount of force and it's lefty/counter-clockwise to loosen). In my picture I was actually using the strap wrench to put it back together so mine is backwards.
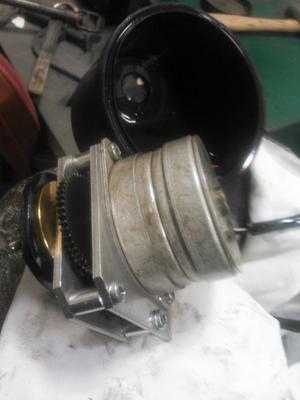
Now that you have the cover off, angle the motor in the vise so that the oil goes down into the end away from the drive gear. Use a 15/16" wrench or socket to unscrew the nut that holds the drive gear. Once nut is off, wiggle the motor and pull or carefully pry off the metal washer and the rubber washer under it. Motor should pull into the housing easily now. Be careful not to pinch or pull any of the wires coming to motor.
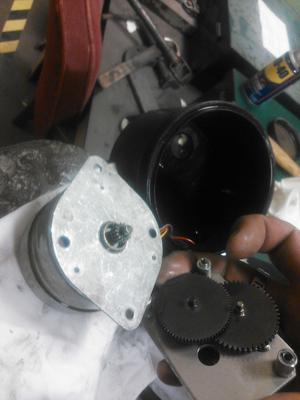
Now you should have the motor and gearbox assembly in your hand. Using your philips you can separate the motor and gearbox. I needed to fix a plastic busing in the gearbox so after separating the gearbox I took the gearbox apart as well.
Reverse the steps to assemble. When you go to put the cover back on make sure the o-ring and metal cover are seated well before you tighten it up.
